The Engine Room
As far as I'm concerned, this is where a musclecar lives or dies. in my humble opinion, If you don't have it here, you don't have it. So this is an area where I'll be spending some time and cash. But first, we need a baseline and that requires some work too, so here goes.
I think a good place to start is to get the engine optimized in a mostly stock configuration. So, while looking in the engine compartment, I noticed the amazingly complex and obviously restrictive air cleaner assembly. Before entering the engine, the air has to take a rather convoluted path to the throttle body. There are no less than 5 changes in direction the air has to take. Now, being a true believer in K&N air filters, already having one installed in the stock air cleaner housing, I looked to them for help. A FIPK (fuel injection performance kit) would be the obvious choice. Except that K&N doesn't make one for a 5.0L TPI. (at least not when I did this mod) Then I remembered something I saw in a street rod magazine some years ago. The car in question used a TPI engine, and had a flattened cone shaped air filter mounted directly on the throttle body. Very cool looking, and I knew this had to flow tons more air! So, I checked in the Jeg's catalog and found the item I was looking for, an RC 599-5000 cone air filter. It was reasonably inexpensive, so I ordered it. Jeg's also recommended a throttle body airfoil to further manipulate the air flow, so I ordered a Holley airfoil too. A few days later, I had the pieces and installed them.
So, you might ask does this REALLY make a difference? I decided to test the theory. With the engine warmed up & running. I removed the K&N leaving only the Holley airfoil. THEN, I removed the airfoil. A slight decrease in engine speed (momentary, until the computer reset the idle). The I re installed the airfoil. (Momentary increase in idle speed until the computer reset it). This was done 3 times and the results were identical in each instance. So, I think that proves the Holley airfoil DOES do what it says, and increases the air flow velocity into the throttle body.
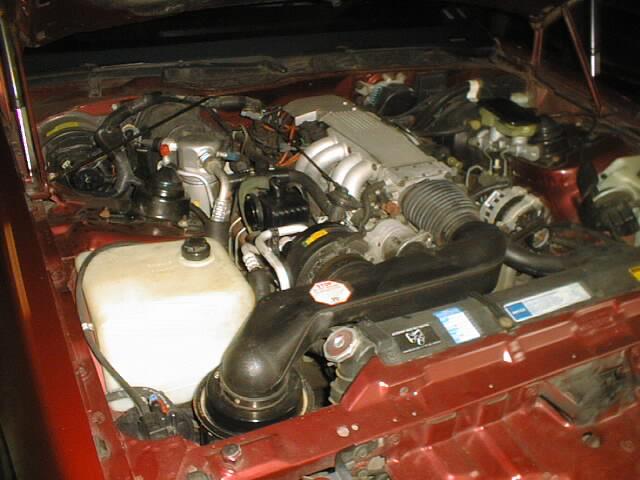
Here's a shot of the stock air cleaner system. I was amazed this engine got any air at all, considering the path it had to take just to get to the throttle body. From what I remember from my time running an oil change, a Camaro of the same vintage and engine had a much less restrictive twin filter assembly. I just wonder why Pontiac decided to use this piece.
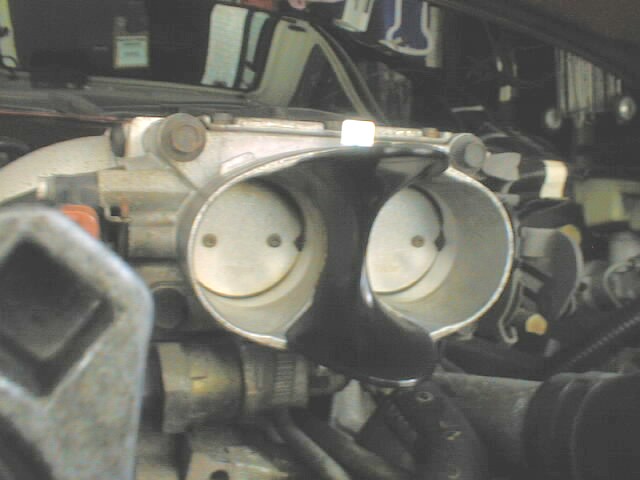
Here's the throttle body with the Holley Airfoil installed. Easy install, just snaps on.
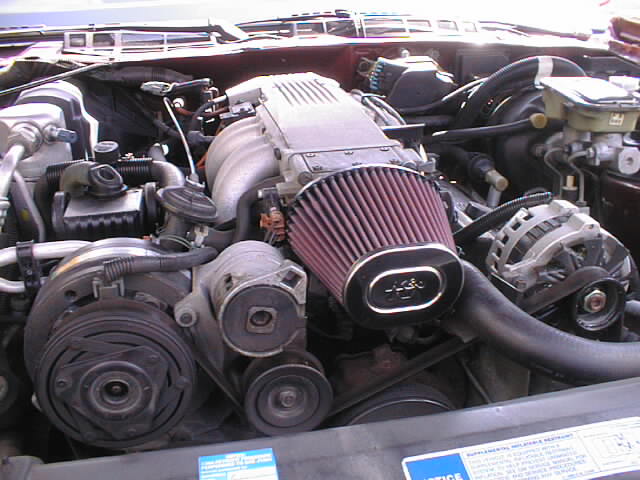
With the K&N installed
Another issue was the fact that Time Machine hadn't had an ignition tune up in a VERY long time. I found out why. The placement of the spark plugs on this particular engine in this chassis makes it extremely difficult to replace them, so no-one bothered. I did finally manage to get new E3 Diamondfire plugs in there along with a new MSD cap & rotor, Mallory Pro Sidewinder 8mm wires, and a new Mallory coil. It made quite a difference in the performance and a nice idle, to boot, Considering the condition of the previous parts, I'm not really surprised. Someone in the past had put Atlas ignition parts in it, and had apparently thought that slobbering some dielectric grease on the inside of the distributor cap would help. It didn't. (Thanks, BP ProCare!)
So, some time later, I was surfing the web, and came across Thirdgen.org, and started looking at their tech articles for some cheap engine-related mods, and I found some good ones. First up....
Removal of the A.I.R. system
Disclaimer
Keep in mind, since Time Machine no longer needs to pass an emission inspection due to it's registration in Pennsylvania as a classic car, these mods would not be appropriate (or legal) for all cars. Check your local laws for more details on the legality of what I'm about to describe.
The Air Injection Reaction system (A.I.R.) basically uses an belt driven air pump to inject air into both the exhaust manifolds and the cat con in order to reduce emissions. It is also a power-robber, and adds about 17 pounds to the front of the car. so, Removing it seemed like a good idea for increasing performance. There was much discussion on Thirdgen.org as to whether this would throw a code or not, but the consensus seemed to say no, so I went for it.
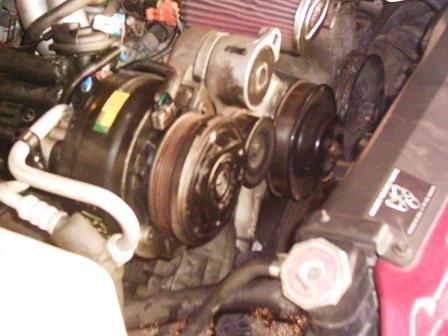
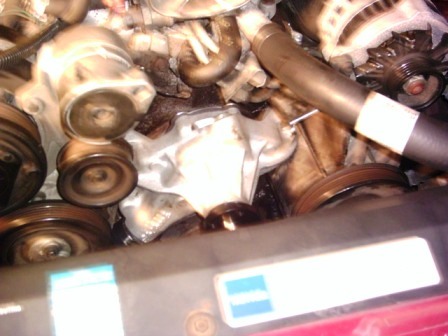
 Before the surgery, note the mass of
tubing & electronics to the left of the intake tubes (sort of like a
cancerous tumor)
Before the surgery, note the mass of
tubing & electronics to the left of the intake tubes (sort of like a
cancerous tumor)
 A.I.R. pump removed, along with 80% of the
tubing and the stock serpentine belt which was 2" too short now.
A.I.R. pump removed, along with 80% of the
tubing and the stock serpentine belt which was 2" too short now.
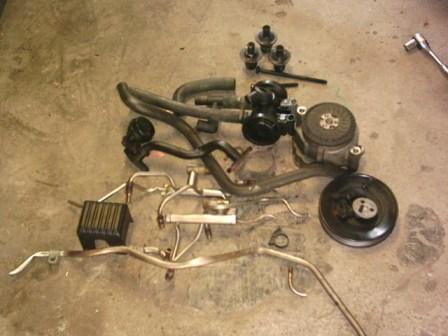 The A.I.R. parts on their last stop
before the garbage can. This crap weighed 17 pounds!
The A.I.R. parts on their last stop
before the garbage can. This crap weighed 17 pounds!
All that was left to do was to plug the holes in the exhaust manifolds with pipe plugs, plug the A.I.R. line on the cat con, and replace the stock serpentine belt with one that was around 2" longer and re-route it to make sure all the belt-driven accessories ran in the right direction.
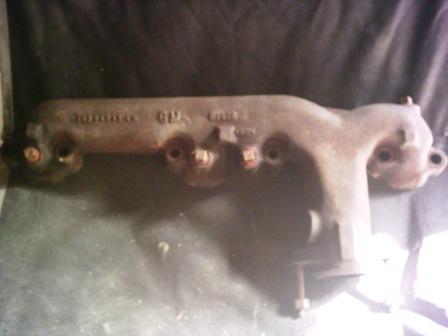 The stock manifolds with the AIR holes plugged. Before
smoothing & painting
The stock manifolds with the AIR holes plugged. Before
smoothing & painting
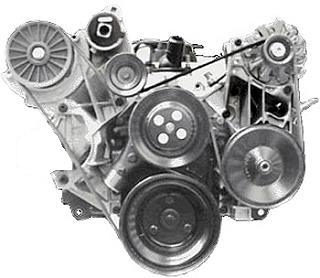 The new
belt routing.. (courtesy thirdgen.org)
The new
belt routing.. (courtesy thirdgen.org)
Cooling system mods
The next item was bypass surgery on the throttle body heat lines. On a Tuned Port engine, hot coolant is routed from the intake manifold base through the throttle body and then on to the heater valve in order to prevent throttle body icing at very low temperatures. Since I'm not going to be driving it in cold weather, this was a great mod, and only cost about $5 for plugs to cover the coolant nipples. I removed the hoses from between the throttle body and the heater valve, and replaced them with a single piece of bent hose I scrounged from the A.I.R. system removal described above. it fit perfectly and even conformed to the contours of the front of the engine! this mod will reduce intake air temps drastically, and according to the author of the article, should be worth about 5 HP (may be a conservative estimate). I would guesstimate that the A.I.R. removal should be an additional 3-5 HP itself, so I figure 8-10 HP with very little cash spent is a major bonus!
 The Edelbrock Victor
series water pump. This was good for about 10 degrees reduction in water temps
due to it's efficiency. (and the use of Purple Ice water wetter)
The Edelbrock Victor
series water pump. This was good for about 10 degrees reduction in water temps
due to it's efficiency. (and the use of Purple Ice water wetter)
Cosmetics
Look, a musclecar also needs a bit of flash, too. In the engine room, what usually draws the eye first is the intake and valve covers. So, to give it some of the reflectivity needed, I installed a set of Edelbrock Elite Series valve covers that I ordered from Jeg's. Only one slight problem, I needed a set with the breather holes on the right side and somehow, I ended up with lefts. No biggie, I came up with a cool way to reroute the PCV & breather lines. And, I figured as long as I was in there, I'd have a look at the valve lash, and it needed adjusted badly. So, even with adding some sparkle to the place, I did manage a power increase. BONUS!
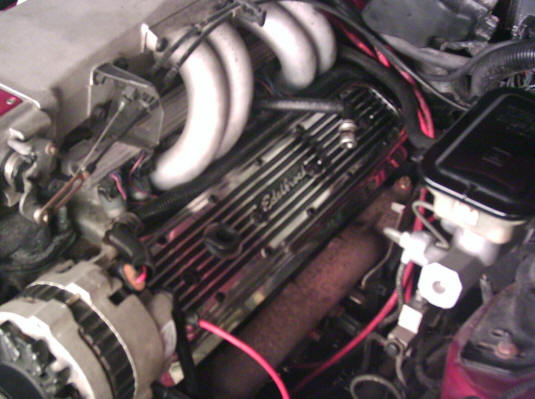
The driver side cover. Note the PCV in its original position. That'll change in the near future.
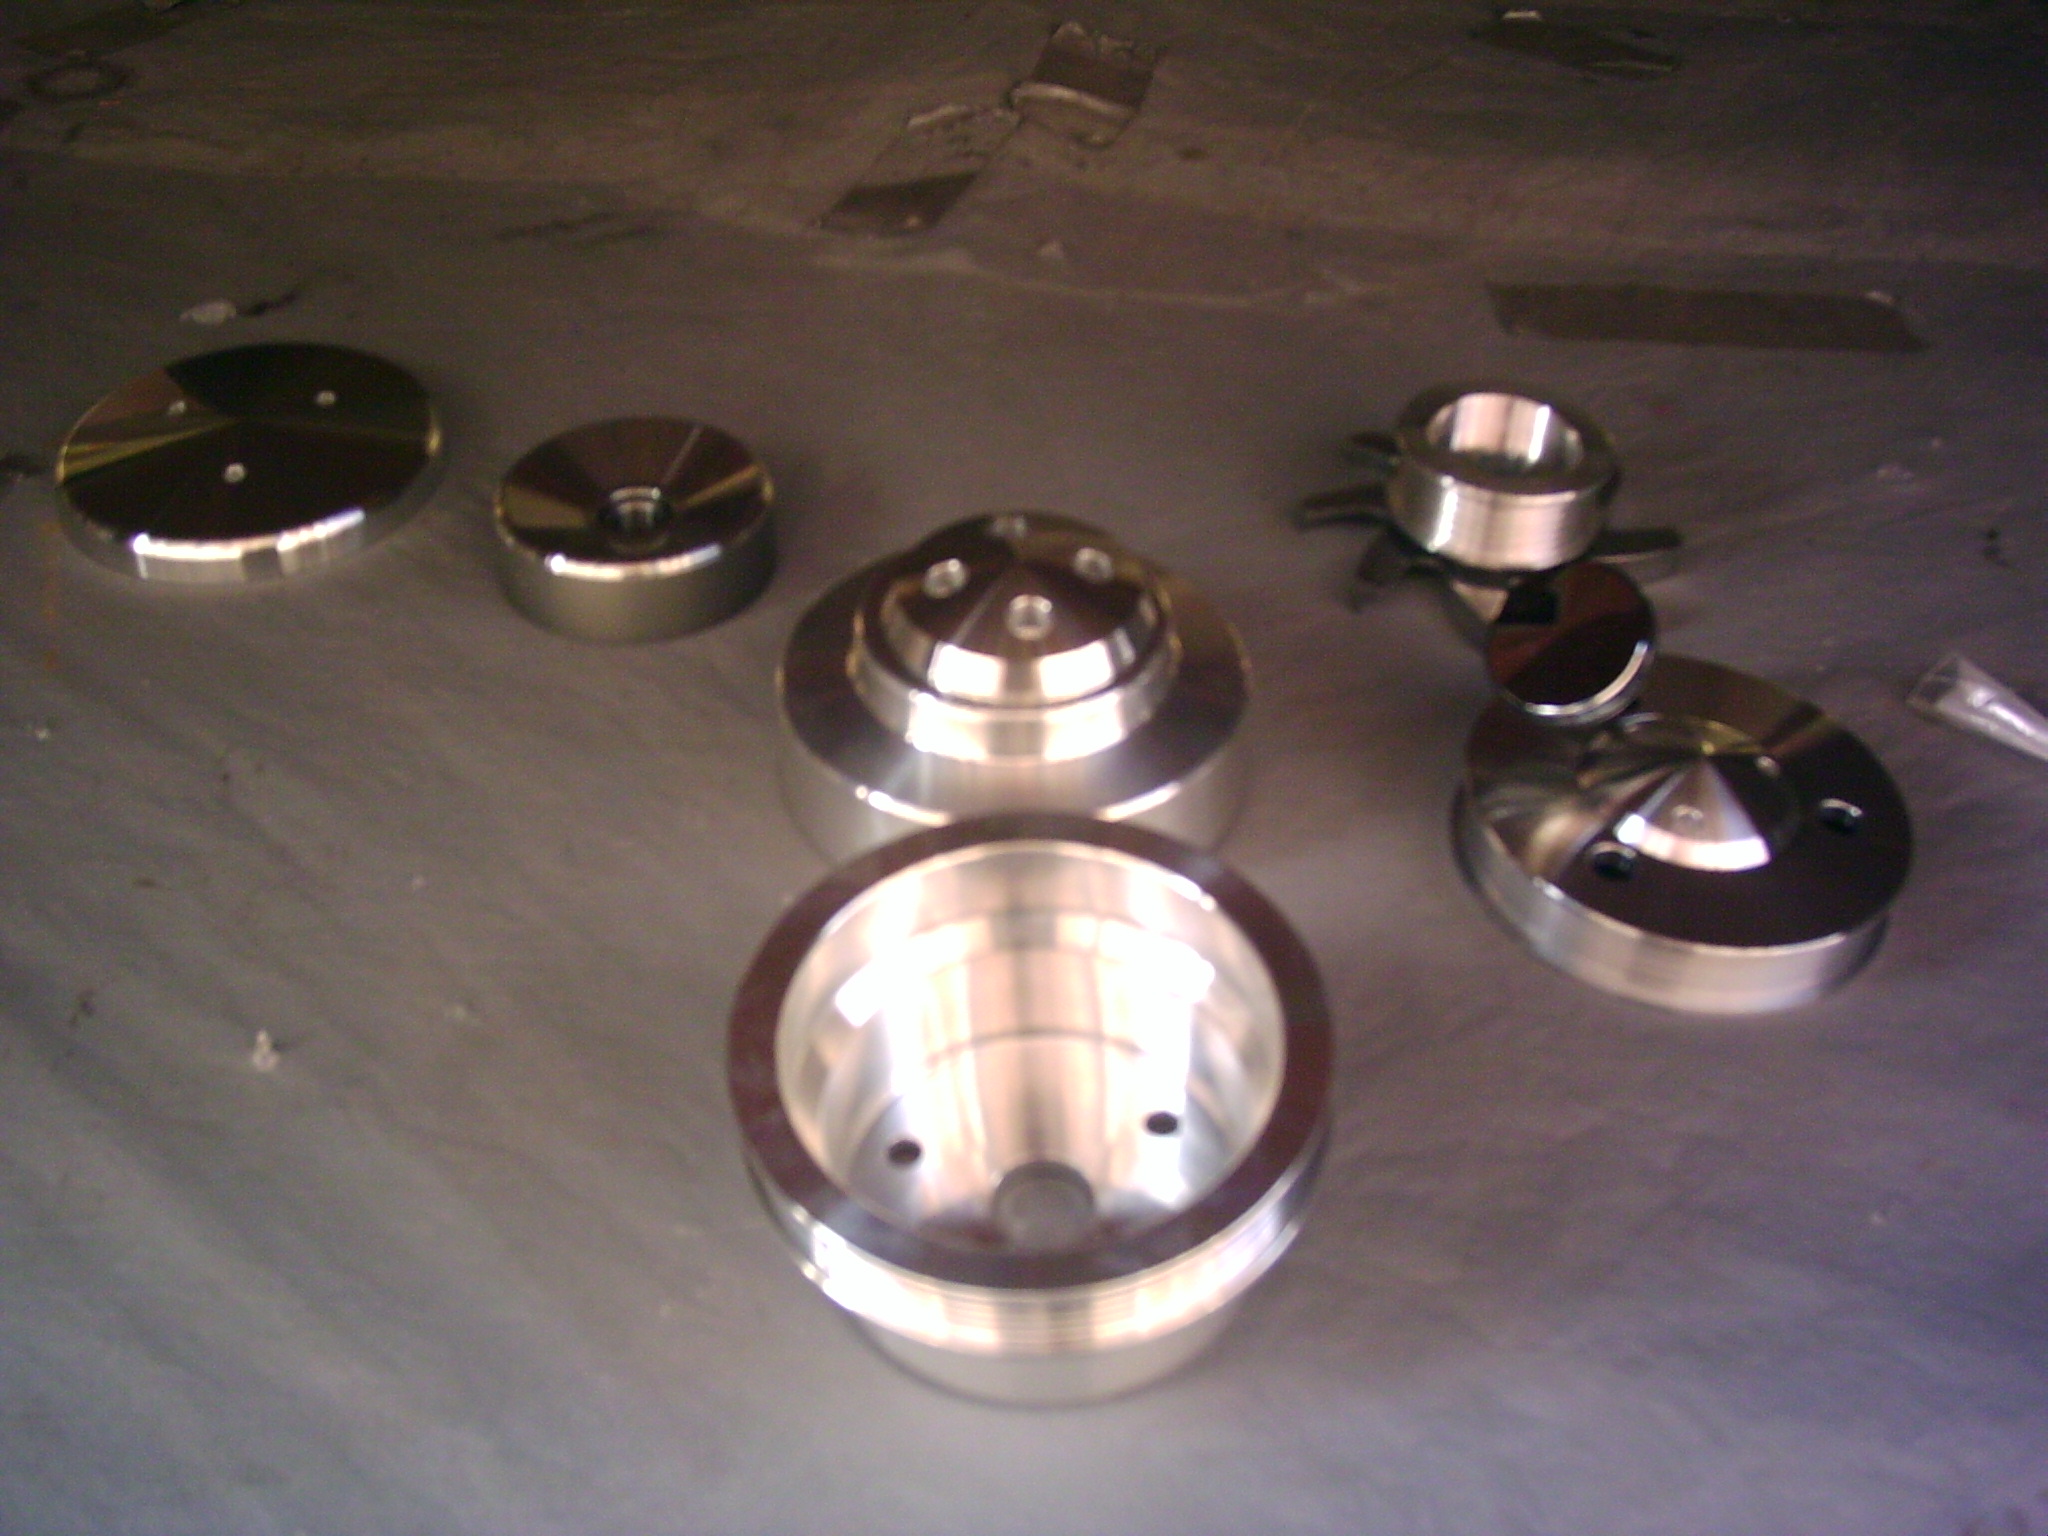
Here's the new pulleys from BBK and March performance.